Automation in Pro Tools: Mastering Precision for Flawless Mixes
Imagine having the power to shape every sound in your mix with just a few clicks. Automation in Pro Tools lets you do exactly that—giving you full control over volume, effects, and more throughout your track.
If you want your music or audio projects to sound polished and professional, mastering automation is a game-changer. You’ll discover how to use Pro Tools automation to bring your creative vision to life, save time, and make your mixes stand out.
Ready to unlock the secret to smoother, more dynamic tracks? Let’s dive in.
Credit: musictech.com
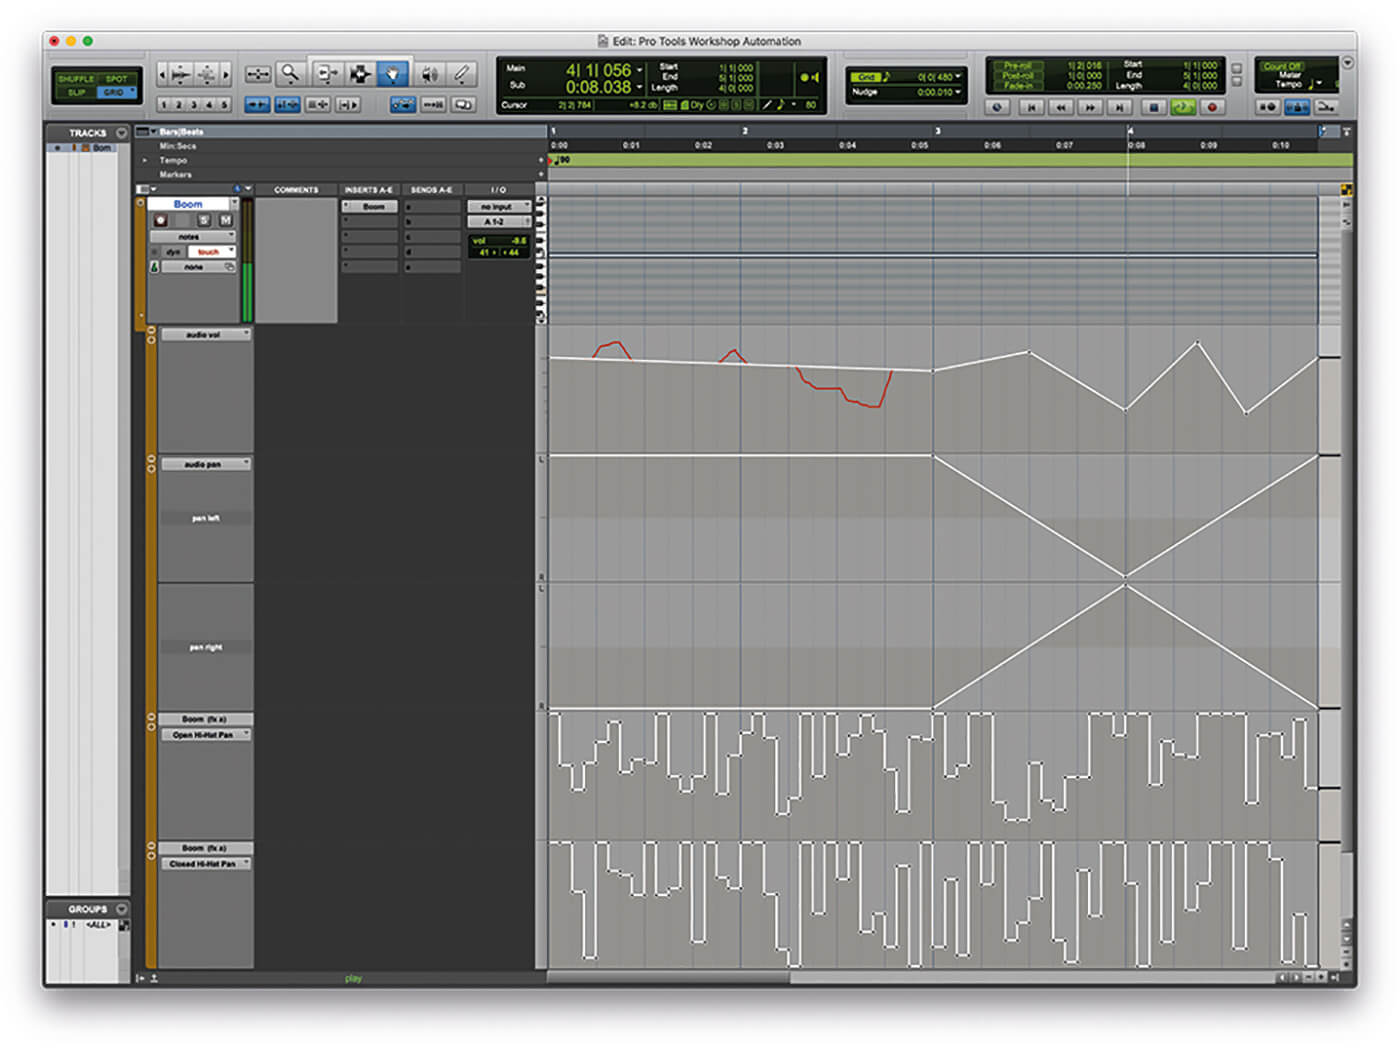
Basics Of Automation In Pro Tools
Automation in Pro Tools lets you control changes in your mix over time. It records adjustments like volume, panning, and effects. This makes your tracks sound dynamic and lively. Understanding automation basics helps you create smooth transitions and effects. You can draw automation curves or record them live. Pro Tools then plays back these changes automatically. This saves time and adds polish to your music or audio projects.
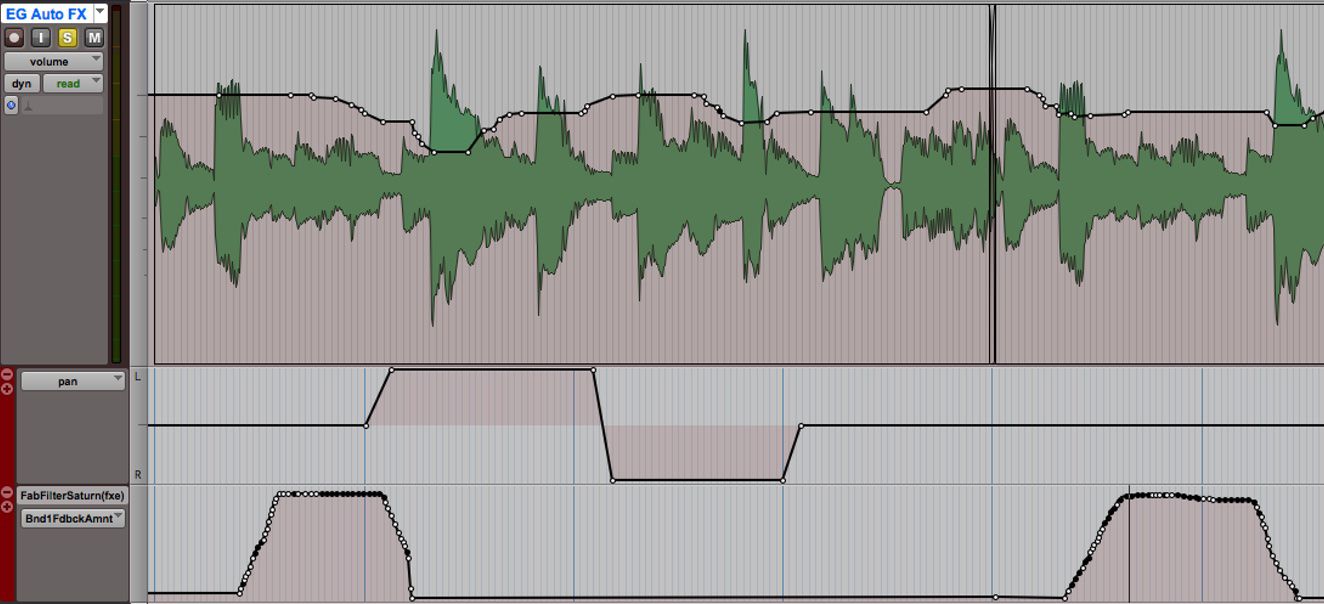
Types Of Automation
Pro Tools offers several automation types for different needs. Volume automation changes the loudness of a track. Pan automation shifts the sound from left to right. Plugin parameter automation controls effects like reverb or delay settings. Mute automation turns tracks on or off at specific points. Each automation type allows precise control over your mix. Combining them creates interesting sound movements and textures.
Automation Modes Explained
Pro Tools has various automation modes to work with. Write mode records all parameter changes as you make them. Touch mode only records changes while you move a control. It returns to the previous value when you release the control. Latch mode records changes and holds them until you stop playback. Read mode plays back existing automation without changes. Choosing the right mode helps you edit automation efficiently. It gives flexibility in how you create and adjust your mix.
Setting Up Automation Lanes
Setting up automation lanes in Pro Tools helps control mix elements clearly. It allows easy editing of volume, pan, and plugin parameters. Organizing these lanes makes your workflow smooth and efficient. This section guides you through creating and managing automation lanes effectively.
Creating And Organizing Lanes
Start by selecting the track you want to automate. Click the track’s automation mode menu and choose an automation type. You can add lanes for volume, pan, mute, or plugin controls. To add more lanes, click the small arrow next to the track name. Choose “Show Automation Lanes” and select the parameter you want. Arrange lanes by dragging them up or down to keep your session tidy. Organizing lanes helps find and edit automation faster. Group similar automation lanes together for better visibility. Delete any lanes you no longer need to avoid clutter.
Navigating Automation Views
Pro Tools offers multiple views to see your automation clearly. Use the “Track View Selector” to switch between waveform and automation lanes. This helps focus on the precise parameter you want to adjust. Zoom in and out to see detailed changes or an overview of automation data. Use the grabber and selector tools to move or copy automation points easily. Lock lanes to prevent accidental changes. Hide lanes temporarily to simplify the screen. These options keep your session organized and easy to manage.
Recording Automation Moves
Touch Vs Latch Vs Write Modes
Touch mode records automation only while you move a control. When you stop, the control returns to its previous setting. This mode is great for small adjustments. Latch mode keeps recording after you move a control. It holds the new setting until you stop playback. Use this mode for longer, continuous changes. Write mode overwrites all automation data as soon as playback starts. It records every move you make and replaces old data. This mode is useful for creating new automation from scratch.Tips For Smooth Automation Recording
Use a MIDI controller or hardware fader for more precise moves. This helps you avoid sudden jumps in volume or effects. Practice your moves before recording automation. This makes your adjustments smooth and natural. Keep an eye on your automation lanes. Check for any unwanted spikes or drops after recording. Use zoom tools to fine-tune automation points. Small tweaks can improve the overall sound greatly.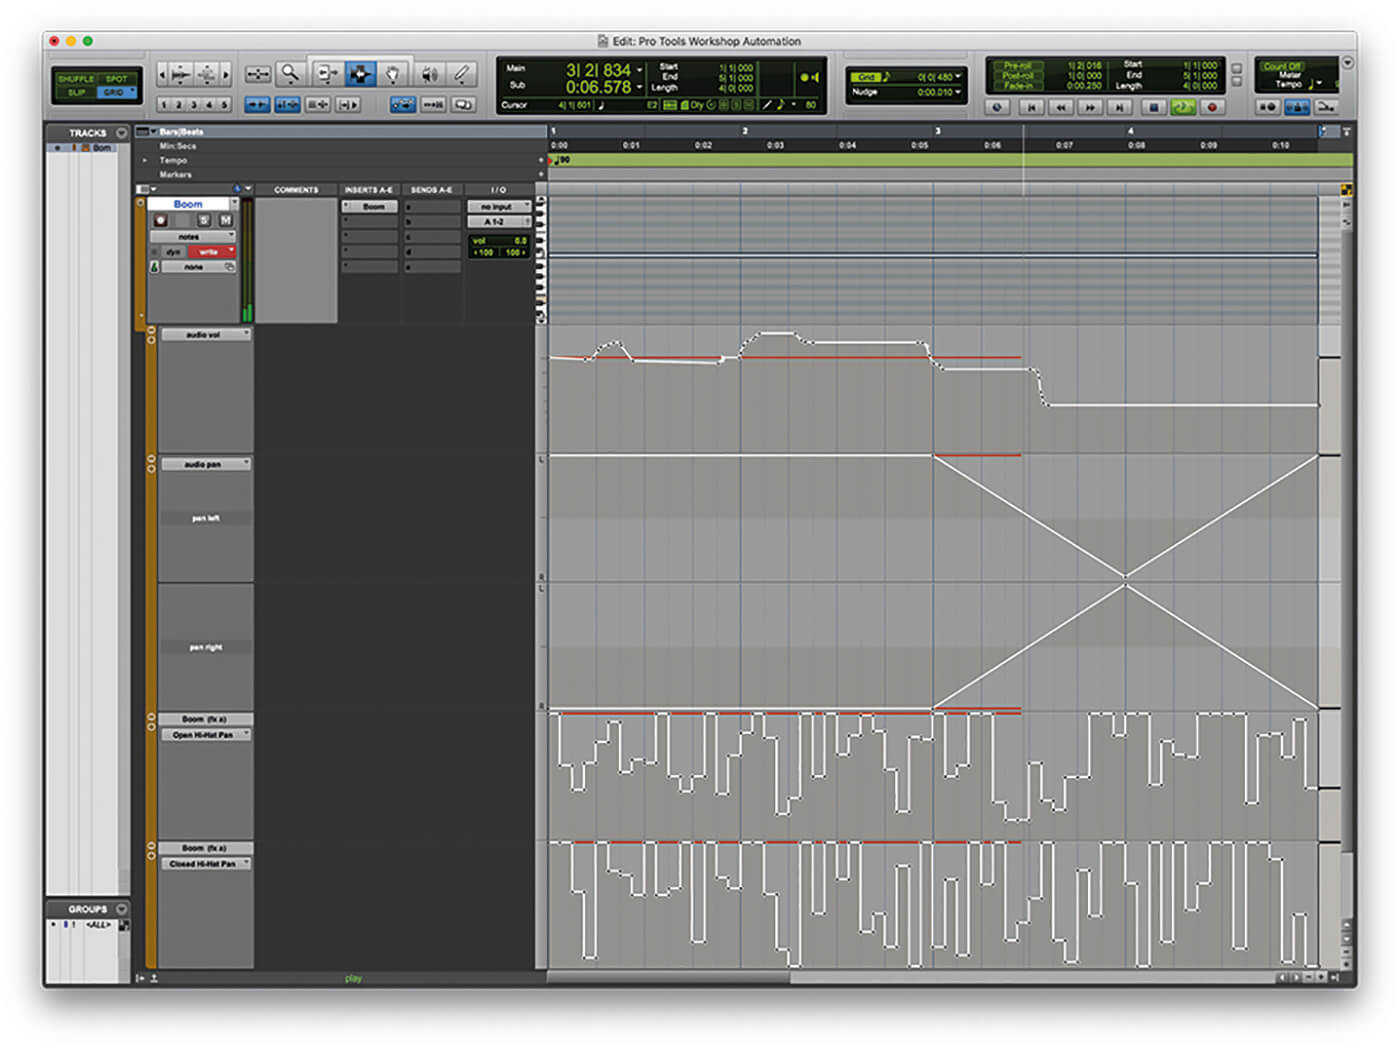
Credit: musictech.com
Editing Automation Data
Using The Grabber And Pencil Tools
The Grabber tool moves automation points along the timeline. Click and drag points to new positions. This changes the timing or level smoothly. The Pencil tool redraws automation curves. You can create new shapes or fix rough lines. It allows detailed control of how your automation behaves. Both tools work together to edit automation quickly. Switch between them to move or reshape data easily.Fine-tuning Automation Curves
Fine-tuning automation curves smooths transitions in your mix. Adjust points closely for subtle changes in volume or effects. Use zoom to see small details. Drag points gently to avoid sudden jumps. This keeps your sound natural and clear. Fine-tuning helps balance instruments and vocals perfectly. It improves the overall flow of your track.Advanced Automation Techniques
Advanced automation techniques in Pro Tools help you create smooth and dynamic mixes. These techniques allow precise control over volume, panning, and plugin parameters. Automation makes your tracks sound alive and professional. Learning these methods improves your workflow and final sound quality.
Automation Follows Edit
Automation follows edit is a useful feature in Pro Tools. It keeps automation data linked to audio clips. When you move or trim an audio clip, the automation moves with it. This ensures automation stays accurate without manual adjustment. It saves time and avoids mistakes in complex sessions. Use this feature to keep your mix consistent and organized.
Using Automation With Plugins
You can automate plugin parameters in Pro Tools for creative effects. Control filters, delays, and other effects over time. This adds movement and interest to your tracks. Simply enable automation for the desired plugin parameter. Draw automation curves or record changes live. This technique helps you shape the sound dynamically and expressively.
Common Automation Mistakes
Automation in Pro Tools helps shape your sound with precision. It controls volume, effects, and panning across a track. Many users face common mistakes that disrupt smooth transitions. These errors can make your mix sound rough or confusing. Understanding and fixing these issues leads to cleaner, more professional audio.
Avoiding Abrupt Changes
Abrupt automation changes cause sudden jumps in sound. These jumps can distract the listener and break the flow. Use gradual fades and smooth curves to fix this. Adjust the automation points closely for better control. Small, steady changes keep your mix natural and easy to listen to.
Managing Overlapping Automation
Overlapping automation can create clashes between different controls. For example, volume and effect automation might fight each other. This causes unexpected sound shifts and confusion. Check each automation lane to avoid conflicts. Clear, separate automation lines ensure each effect works properly without interference.
Automation Workflow Tips
Automation is key to shaping your sound in Pro Tools. It helps control volume, panning, effects, and more over time. A smooth automation workflow saves time and keeps your sessions clean. Below are tips to improve your automation process and work smarter.
Organizing Sessions For Efficiency
Start by labeling tracks clearly. Use consistent names that describe each instrument or sound. Group related tracks together. This helps find and edit automation quickly. Color-code tracks to spot them fast. Keep automation lanes tidy by hiding unused ones. This reduces screen clutter. Use folders or track groups to manage complex sessions. Clear session structure speeds up your workflow.
Leveraging Shortcuts And Templates
Learn Pro Tools shortcuts for automation tasks. Simple keys like ‘A’ to show or hide automation make editing faster. Use shortcuts to switch between automation modes easily. Create session templates with preferred automation settings. Save common track layouts and automation types. Starting with templates cuts setup time. Templates keep your workflow steady and organized.
Credit: ask.video
Frequently Asked Questions
What Is Automation In Pro Tools Used For?
Automation in Pro Tools controls volume, panning, and effects over time. It helps create smooth changes without manual adjustments during playback.
How Do I Enable Automation In Pro Tools?
To enable automation, select the automation mode on a track. Choose options like Write, Touch, or Latch to record automation moves.
Can I Edit Automation Curves In Pro Tools?
Yes, you can edit automation curves by drawing or adjusting breakpoints. This allows precise control of changes in your mix.
What Are Common Automation Modes In Pro Tools?
Common modes include Write, Touch, Latch, and Read. Each mode records or plays back automation differently during a session.
Does Automation Improve Mixing Efficiency In Pro Tools?
Automation saves time by automating repetitive tasks. It helps create dynamic mixes without constant manual changes during playback.
Conclusion
Automation in Pro Tools helps create smooth and clear mixes. It saves time by adjusting volume, panning, and effects easily. Users can focus more on creativity and less on technical tasks. This tool suits beginners and experts alike. Practice with automation to see better results in your projects.
It makes your music sound more professional and polished. Try different automation styles to find what fits your music best. Keep exploring and enjoy the process of making great sound.